If your Windows PC feels sluggish or you’re encountering memory-related errors, optimizing your system’s RAM usage settings can enhance performance. This guide provides step-by-step instructions to adjust RAM settings in Windows 10 and 11.
Understanding RAM Usage in Windows
RAM (Random Access Memory) is vital for running applications and processes. Windows manages RAM dynamically, but manual adjustments can improve performance, especially for resource-intensive tasks.
Method 1: Adjust Virtual Memory (Paging File)
Virtual memory uses disk space to simulate additional RAM. Adjusting its size can help when physical RAM is insufficient.
Steps:
- Open System Properties:
- Press Win + R, type sysdm.cpl, and press Enter.
- Access Performance Settings:
- In the System Properties window, go to the Advanced tab.
- Under Performance, click Settings.
- Modify Virtual Memory:
- In the Performance Options window, go to the Advanced tab.
- Under Virtual memory, click Change.
- Set Custom Size:
- Uncheck Automatically manage paging file size for all drives.
- Select your system drive (usually C:).
- Choose Custom size and set:
- Initial size (MB): 1.5 times your RAM size.
- Maximum size (MB): 3 times your RAM size.
- Click Set, then OK.
- Restart Your PC:
- For changes to take effect, restart your computer.
Method 2: Allocate More RAM to Specific Applications
Prioritizing RAM for certain applications can enhance their performance.
Steps:
- Open Task Manager:
- Press Ctrl + Shift + Esc.
- Navigate to Details Tab:
- Click on the Details tab.
- Set Priority:
- Right-click on the desired application.
- Hover over Set priority and choose High or Realtime.
- Confirm the change when prompted.
Note: Setting priority to Realtime can affect system stability; use with caution.
Method 3: Enable XMP in BIOS for RAM Overclocking
If your system supports XMP (Extreme Memory Profile), enabling it can allow RAM to run at higher speeds.
Steps:
- Access BIOS/UEFI:
- Restart your PC and press the BIOS key (commonly Del, F2, or F10) during boot.
- Enable XMP:
- Navigate to the memory settings section.
- Find the XMP option and enable it.
- Save changes and exit BIOS.
Note: Not all systems support XMP; consult your motherboard’s manual.
Method 4: Disable Unnecessary Startup Programs
Reducing startup programs can free up RAM and speed up boot times.
Steps:
- Open Task Manager:
- Press Ctrl + Shift + Esc.
- Navigate to Startup Tab:
- Click on the Startup tab.
- Disable Unnecessary Programs:
- Right-click on programs you don’t need at startup and select Disable.
Method 5: Scan for Malware
Malware can consume RAM and degrade performance. Regular scans help maintain system health.
Steps:
- Open Windows Security:
- Go to Settings > Update & Security > Windows Security.
- Run a Full Scan:
- Click on Virus & threat protection.
- Select Scan options and choose Full scan.
- Click Scan now.
Additional Tips
- Upgrade Physical RAM: If possible, adding more RAM can significantly boost performance.
- Close Unused Applications: Regularly close programs not in use to free up RAM.
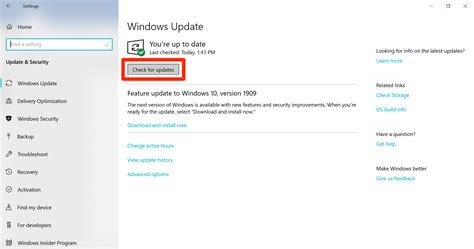
- Keep System Updated: Ensure Windows and drivers are up to date for optimal performance.
Conclusion
Optimizing RAM usage in Windows involves adjusting virtual memory, prioritizing applications, managing startup programs, and ensuring system health. Implementing these steps can lead to a more responsive and efficient computing experience.


