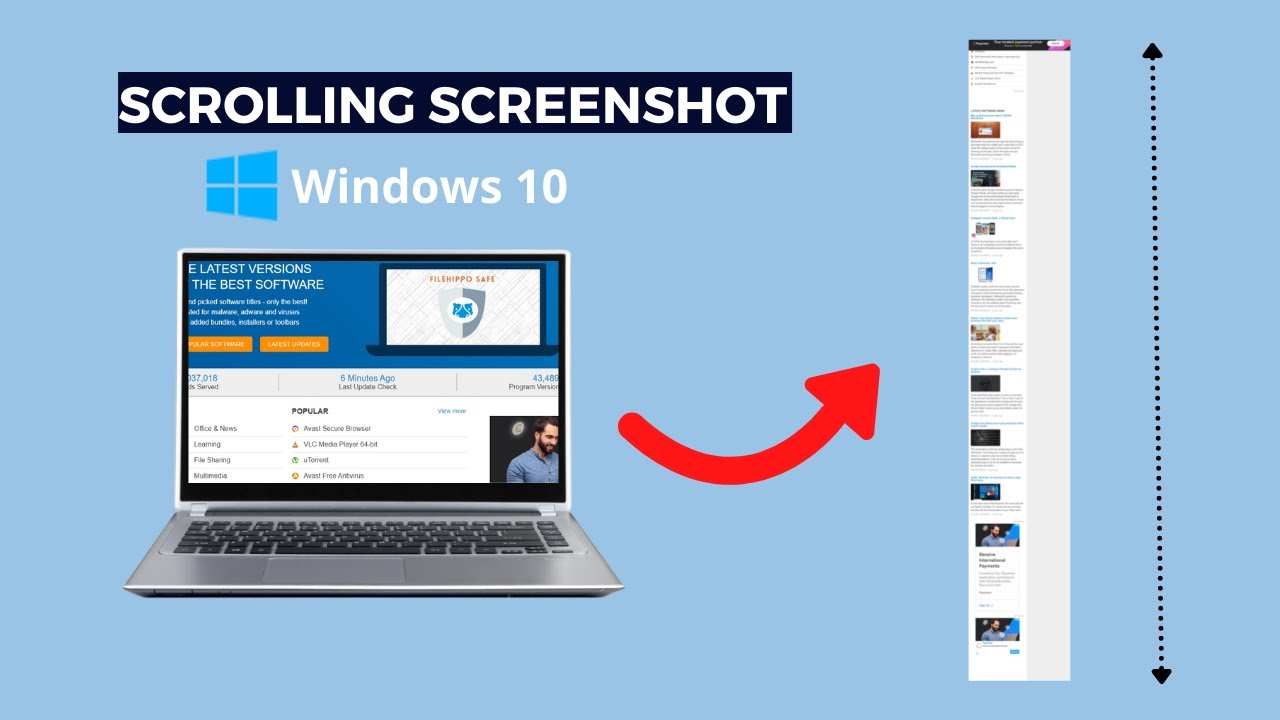
Capturing what’s on your screen is a daily task for many of us. Whether it’s for work, sharing information, or troubleshooting, the standard screenshot is a familiar tool. However, what if the content you need to capture extends beyond what’s visible on your screen? This is where a scrolling screenshot comes in. Unlike a regular screenshot that captures only the visible portion, a scrolling screenshot (also known as a “long screenshot” or “full page screenshot”) captures an entire scrollable page, such as a long webpage, a document, or a chat conversation.
While Windows has robust built-in tools for standard screenshots (like Print Screen or the Snipping Tool), it doesn’t natively offer a direct “scrolling screenshot” feature. This has been a long-standing point of discussion in user forums and tech communities, with users often seeking workarounds or third-party solutions. The concept of capturing extended content isn’t new; it has evolved alongside web Browse and long-form digital content. Early web archiving tools would save entire pages, but the idea of a single, continuous image file for easy sharing gained traction as content became more dynamic and longer. This article will guide you through the most effective ways to take a scrolling screenshot in a Windows laptop, covering both browser-specific options and reliable third-party tools.
Why Take a Scrolling Screenshot?
A scrolling screenshot is incredibly useful for:
- Capturing Entire Webpages: Ideal for saving articles, product pages, or online receipts without missing any details.
- Documenting Long Conversations: Perfect for archiving chat logs or email threads.
- Software Documentation: When you need to show an entire menu or settings panel that scrolls.
- Troubleshooting: Providing a complete visual of an error message or a long log file.
Method 1: Using Your Web Browser’s Built-in Features (Most Reliable for Webpages)
Many modern web browsers, especially those based on Chromium (like Chrome and Edge), offer built-in developer tools that include a hidden gem for taking full page screenshots. This is often the safest and most convenient method for capturing webpages without installing extra software.
For Google Chrome and Microsoft Edge:
- Open the Webpage: Navigate to the webpage you want to capture.
- Open Developer Tools:
- Press F12 on your keyboard, or
- Right-click anywhere on the webpage and select “Inspect” or “Inspect element.”
- Access the Command Menu (Chrome/Edge):
- Once Developer Tools are open, click the three vertical dots (or sometimes horizontal dots) in the top-right corner of the Developer Tools panel.
- Select “Run command” (or just “Command menu” in some versions).
- Search for “screenshot”: In the command menu that appears, start typing screenshot.
- Select “Capture full size screenshot”: From the options, choose “Capture full size screenshot.”
- Entity: A full size screenshot (or full page screenshot) is an image capture that extends beyond the currently visible portion of a webpage, capturing the entire scrollable content from top to bottom.
- Save the Image: The browser will automatically capture the entire page and download it as a PNG image file to your default downloads folder.
For Mozilla Firefox:
Firefox has a more user-friendly built-in option.
- Open the Webpage: Navigate to the webpage you want to capture.
- Right-Click the Page: Right-click anywhere on the webpage (make sure not to click on an image or link directly, as that will bring up a different menu).
- Select “Take Screenshot”: From the context menu, choose “Take Screenshot.”
- Choose “Save full page”: In the screenshot toolbar that appears at the top of the browser, click on “Save full page.”
- Download: Firefox will process the screenshot and prompt you to download the image.
Considerations: These browser-specific methods are excellent for webpages. They don’t require external software and produce high-quality images. However, they won’t work for capturing content outside of the browser, such as a long document in Microsoft Word or a scrolling settings panel.
Method 2: Using Third-Party Applications (Versatile for Any Scrolling Content)
Since Windows doesn’t have a native scrolling screenshot feature, third-party tools are essential for capturing content that scrolls in applications other than web browsers. Many reliable options are available, offering more advanced features. Here are some popular and highly-rated choices:
Option A: ShareX (Free, Open-Source, Feature-Rich)
ShareX is a powerful and free open-source tool that goes far beyond basic screenshots. It’s highly customizable and supports scrolling screenshots.
- Download and Install ShareX:
- Go to the official ShareX website (getsharex.com) or download it from the Microsoft Store.
- Install the application.
- Launch ShareX: Open the ShareX application.
- Initiate Scrolling Capture:
- In the main ShareX window, click on “Capture” in the left-hand menu.
- Select “Scrolling capture.”
- Select the Window: ShareX will prompt you to select the window you want to capture (e.g., a Word document, a file explorer window, a chat application). Click on the desired window.
- Start Scrolling: ShareX will then automatically start scrolling through the window and taking multiple snapshots, stitching them together. You might need to gently scroll the window yourself if the automatic scroll doesn’t work perfectly, depending on the application.
- Stop Capture: Once the entire content is captured (or when you want to stop), a small prompt will appear or you can press Esc. ShareX will process the image.
- Edit and Save: The captured scrolling screenshot will appear in the ShareX main window. You can edit it (add annotations, blur sensitive info) and then save it to your desired location.
Entity: ShareX is a free and open-source screenshot program for Microsoft Windows. It also offers advanced features beyond screen capture, including a screen recorder, file uploader, color picker, and various annotation tools.
Option B: PicPick (Free for Personal Use, Feature-Rich)
PicPick is another popular all-in-one graphic design tool that includes a robust scrolling screenshot feature. It’s free for personal use.
- Download and Install PicPick:
- Visit the PicPick website (picpick.app) and download the installer.
- Install the application.
- Launch PicPick: Open PicPick.
- Initiate Scrolling Capture:
- From the main PicPick interface, click on “Screen Capture.”
- Select “Scrolling Window.”
- Select the Window: Hover your mouse over the window you want to capture. PicPick will highlight the scrollable area. Click on it.
- Automatic Scrolling: PicPick will automatically scroll down and capture the entire content.
- Edit and Save: The captured scrolling screenshot will open in the PicPick editor, where you can make adjustments and then save the image.
Entity: PicPick is a comprehensive screen capture and image editing software for Windows. Beyond standard screenshots, it offers features like a color picker, pixel ruler, protractor, whiteboard, and its notable scrolling window capture capability.
Option C: Snagit (Paid, Professional-Grade)
Snagit by TechSmith is a professional-grade screenshot and screen recording tool. It’s a paid software, but it offers incredibly powerful and reliable scrolling screenshot capabilities, among many other features.
- Purchase and Install Snagit:
- Buy Snagit from the TechSmith website
- Install the software.
- Launch Snagit: Open the Snagit application.
- Initiate Scrolling Capture:
- In the Snagit capture window, ensure the “Image” tab is selected.
- Click the “Capture” button or press its hotkey (often Print Screen by default).
- Select the Scrolling Area: A crosshair will appear. Hover over the window you want to capture. Snagit is smart enough to detect scrollable areas and will often display a “Scrolling Window” option. Click to select it.
- Automatic Scrolling: Snagit will automatically scroll through the content and capture it.
- Edit and Save: The scrolling screenshot will open in the Snagit Editor, providing extensive annotation and editing tools before you save it.
Entity: Snagit is a screen capture and screen recording software developed by TechSmith. Renowned for its advanced features, it allows users to capture various types of screenshots (including scrolling captures), record video, and offers robust editing and annotation tools.
Why Third-Party Tools? While browsers handle webpages well, a dedicated third-party tool is essential if you frequently need to capture long documents, chat windows, settings menus, or any other scrollable content within desktop applications. They offer more control, consistent performance, and often integrated editing capabilities.
The Evolution of Screen Capture
The ability to capture what’s on a computer screen dates back to early operating systems. The humble “Print Screen” key, introduced with IBM PCs, was the pioneering method, simply copying the entire screen to the clipboard. Over time, tools like Windows’ Snipping Tool offered more selective capture. However, as web pages grew longer and applications became more complex with infinite scrolling, the need for a scrolling screenshot became evident. This evolution reflects the increasing demand for effective visual communication and documentation in the digital age. The development of specialized software and the integration of such features into web browsers highlight the importance users place on capturing comprehensive visual information effortlessly.
Frequently Asked Questions (FAQ)
Q1: Does Windows 10 or Windows 11 have a built-in feature for scrolling screenshots?
Unfortunately, no. As of the latest versions of Windows 10 and Windows 11, there is no direct, native feature within the operating system (like the Snipping Tool or Print Screen) that allows you to take a scrolling screenshot of any window or application. You need to rely on web browser specific tools or third-party software.
Q2: Can I use the Print Screen key for a scrolling screenshot?
No, the Print Screen key (or PrtSc) only captures the currently visible content on your screen. It does not have the functionality to scroll and capture an entire page or document.
Q3: Are the third-party tools for scrolling screenshots safe to use?
Yes, reputable third-party tools like ShareX (open-source), PicPick (well-established), and Snagit (professional, paid) are generally safe to use. Always download them from their official websites or trusted app stores (like the Microsoft Store) to avoid malware. Read reviews and check the publisher before installing.
Q4: Will a scrolling screenshot capture everything on a webpage, including ads or pop-ups?
Most scrolling screenshot tools will capture whatever is visually present on the page, including ads. Pop-ups might or might not be captured depending on how they are implemented and when the screenshot is initiated. For clean captures, it’s often best to close unnecessary pop-ups first.
Q5: What’s the best way to take a scrolling screenshot of a long PDF document?
For a PDF document, if you are viewing it in a web browser, you can use the browser’s built-in full page screenshot feature (as described in Method 1). If you are viewing it in a dedicated PDF reader (like Adobe Acrobat Reader), you will need to use a third-party tool like ShareX or PicPick, as the browser-based methods won’t apply.
Q6: Why doesn’t Microsoft add a native scrolling screenshot feature to Windows?
While many users request it, Microsoft has not publicly stated a definitive reason. It might be due to the complexity of implementing a universal scrolling capture that works flawlessly across all diverse applications and window types, or perhaps they expect users to rely on browser features or third-party solutions for this specific need.