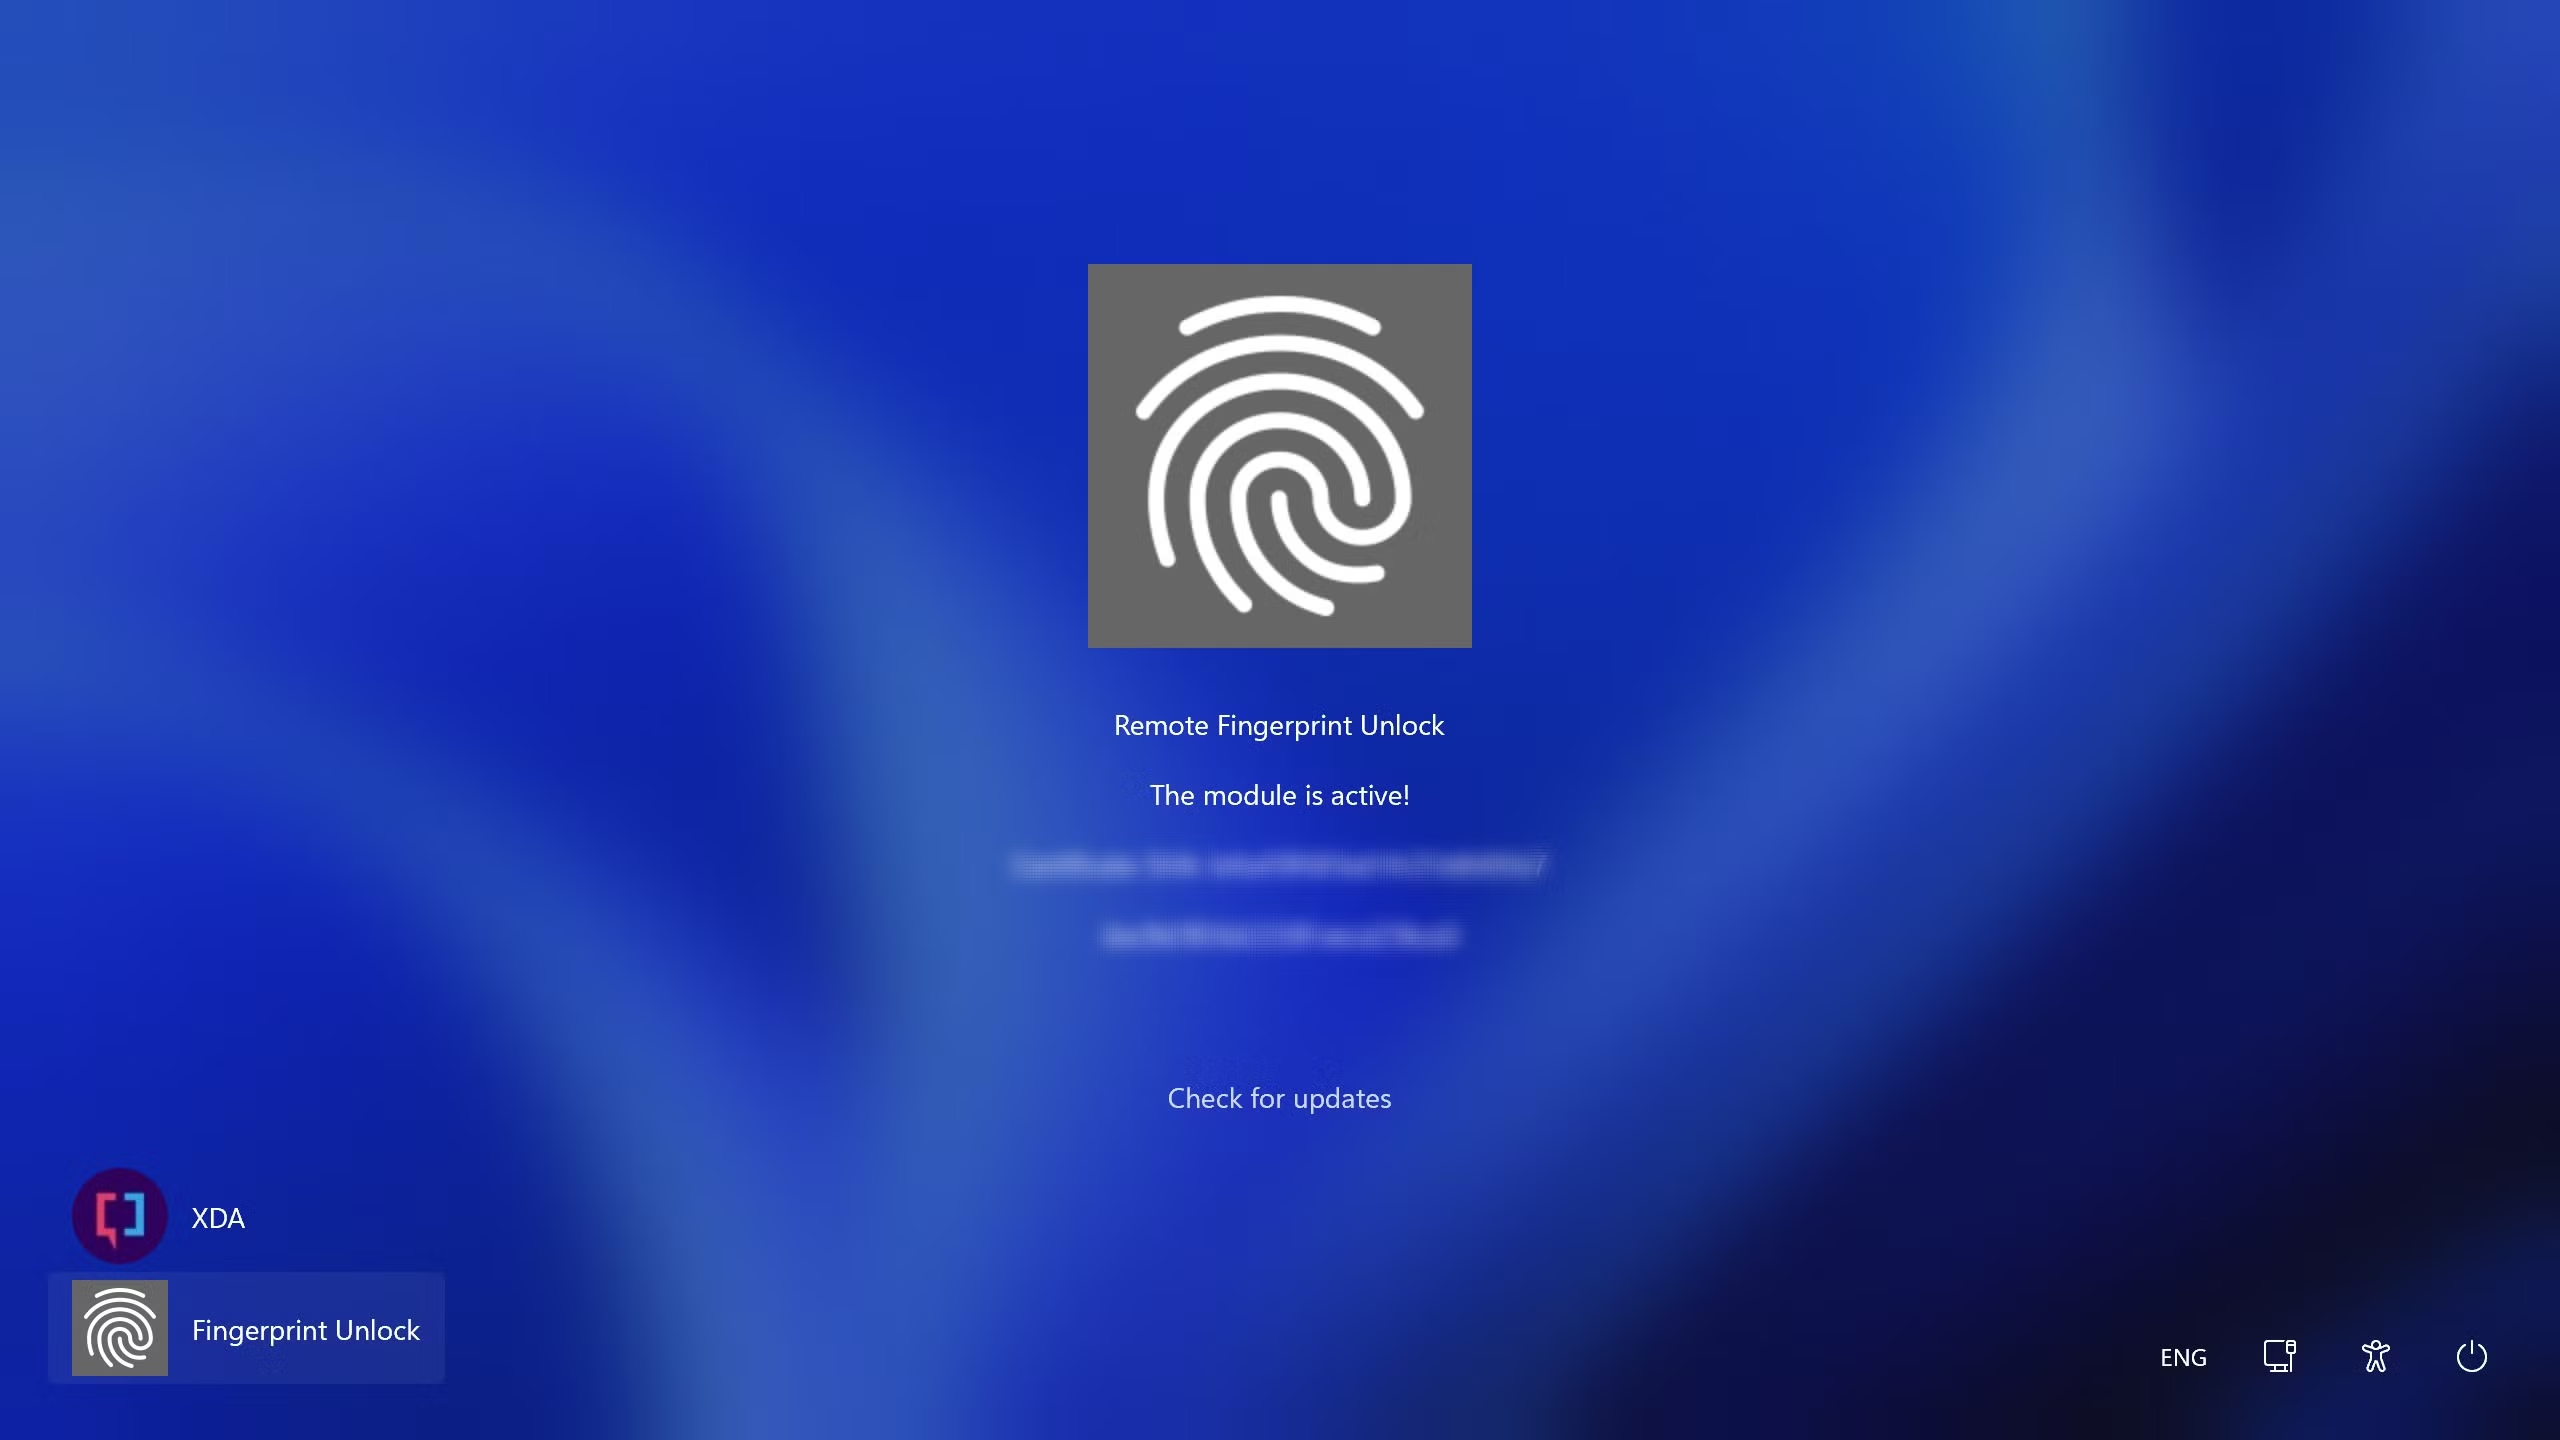
Fingerprint login offers a fast, convenient, and secure way to unlock your Windows laptop. Instead of typing a password every time, a quick touch of your finger is all it takes. This feature, part of Windows Hello, streamlines your login process and enhances security. This guide will walk you through the precise steps on how to set up fingerprint login on your Windows laptop, ensuring a smooth and successful configuration.
Before You Begin: Prerequisites
Before you can set up fingerprint login, ensure your laptop meets these requirements:
- Fingerprint Reader: Your Windows laptop must have a built-in fingerprint reader. Check your laptop’s specifications or look for a small square or oblong sensor, usually located near the keyboard, touchpad, or power button. If your laptop lacks one, you cannot set up this feature.
- Windows Hello Compatible Driver: The fingerprint reader needs to have the correct driver installed that supports Windows Hello. This is usually installed automatically by Windows Update or by your laptop manufacturer.
- PIN or Password: You must have a PIN or password already set up for your Windows user account. Fingerprint login acts as an alternative to these; if your fingerprint fails, you’ll fall back to your PIN or password.
- Set Up a PIN (If You Don’t Have One)
Windows Hello, including fingerprint login, requires a PIN as a backup or primary authentication method. If you already use a PIN to log in, skip to Step 2.
- Step 1: Open Windows Settings.
- Click the Start button (Windows logo) in the bottom-left corner of your screen.
- Click the Settings icon (gear symbol).
- Step 2: Navigate to Sign-in Options.
- In the Settings window, click on “Accounts.”
- In the left-hand menu, click on “Sign-in options.”
- Step 3: Add a PIN.
- Under “Ways to sign in,” find and click on “PIN (Windows Hello).”
- Click the “Set up” (or “Add”) button.
- You may be prompted to enter your current Microsoft account password or local account password for verification.
- Enter your desired new PIN twice. Make it something you can remember but is hard for others to guess.
- Click “OK” or “Sign in.” Your PIN is now set.
- Add Your Fingerprint to Windows Hello
Once your PIN is established, you can proceed to register your fingerprint.
- Step 1: Return to Sign-in Options.
- Follow Step 1 and 2 from the “Set Up a PIN” section above to navigate to Settings > Accounts > Sign-in options.
- Step 2: Locate Fingerprint (Windows Hello).
- Under “Ways to sign in,” find and click on “Fingerprint recognition (Windows Hello)” (or simply “Fingerprint”).
- Step 3: Start the Setup Process.
- Click the “Set up” (or “Add another”) button.
- You will be prompted to enter your PIN for verification. Enter it.
- Step 4: Scan Your Fingerprint.
- A wizard will appear, guiding you through the scanning process.
- Place your chosen finger (e.g., index finger, thumb) on the fingerprint reader.
- Lift and replace your finger repeatedly as instructed by the on-screen prompts. The system needs to capture different angles and parts of your fingerprint to ensure accurate recognition. You’ll see a visual representation of the progress.
- Move your finger slightly each time to cover the entire surface area of the reader.
- Continue until the system indicates that the scan is complete.
- Step 5: Add More Fingerprints (Optional but Recommended).
- Once the first fingerprint is registered, you’ll have the option to “Add another” or “Close.”
- It’s highly recommended to add multiple fingerprints, especially from different fingers on both hands. This provides redundancy in case one finger is injured or wet. Repeat Step 4 for each additional finger.
- Click “Close” once you have added all desired fingerprints.
- Test Your Fingerprint Login
After setting up, it’s good practice to immediately test if it works correctly.
- Step 1: Lock Your Laptop.
- Press Windows key + L on your keyboard.
- This will take you to the lock screen.
- Step 2: Attempt Fingerprint Login.
- Place the finger you registered on the fingerprint reader.
- If successful, your laptop should unlock and take you to your desktop.
- If it fails, you’ll be prompted to try again or enter your PIN.
Troubleshooting Tips for Fingerprint Login
If you encounter issues during or after setup, try these solutions:
- Clean the Fingerprint Reader: Dust, dirt, or oils on the sensor can interfere with scanning. Gently wipe the reader with a soft, lint-free cloth.
- Clean Your Finger: Ensure your finger is clean and dry.
- Enroll Fingerprints Accurately: When scanning, lift and place your finger, don’t just slide it. Try different angles and pressure.
- Update Fingerprint Reader Drivers:
- Go to Device Manager (Right-click Start > Device Manager).
- Expand “Biometric devices” or “Human Interface Devices”.
- Right-click your fingerprint reader and select “Update driver.”
- If Windows Update doesn’t find a new driver, visit your laptop manufacturer’s support website (e.g., Dell, HP, Lenovo) and download the latest fingerprint driver for your specific model and Windows version. Install it manually.
- Remove and Re-add Fingerprints:
- Go to Settings > Accounts > Sign-in options > Fingerprint.
- Click “Remove” for any existing fingerprints.
- Then, go through the “Set up” process again from scratch (Step 2 above).
- Check for Windows Updates: Ensure your Windows operating system is fully up to date, as updates often include bug fixes and driver improvements. Go to Settings > Windows Update.
- Ensure Windows Hello Service is Running:
- Search for “Services” in the Windows search bar and open the app.
- Scroll down and find “Windows Biometric Service.”
- Ensure its “Startup type” is set to “Automatic” and its “Status” is “Running.” If not, right-click and choose “Start” or “Restart.”
By following these steps, you can successfully set up fingerprint login on your Windows laptop, enjoying quicker access and enhanced security for your device.


