Is your C drive running out of space? Many Windows users face this common problem. The C drive is typically where your operating system, programs, and often, your personal files reside. As you accumulate more documents, photos, videos, and downloads, your C drive can become sluggish, impacting your computer’s performance. Moving files from your C drive to D drive safely is an excellent way to free up space and optimize your system without deleting anything important.
The concept of organizing data across different storage locations has been around since the earliest days of computing. Initially, computers had single hard drives, and as they grew larger, users started partitioning them or adding secondary drives to separate the operating system from personal data. This practice, often involving a C drive for system files and a D drive for user data, became a standard in Windows environments. This not only helps with organization but also simplifies data backup and recovery, as your personal files are separate from the system files.
Understanding Your Drives: C Drive vs. D Drive
Before we dive into the “how-to,” let’s quickly clarify what we mean by C drive and D drive.
- C Drive (System Drive): This is the primary partition on your hard drive, where Windows is installed. It also stores program files and often serves as the default location for user data. Because the operating system constantly interacts with this drive, keeping it lean is crucial for performance.
- Entity: The C drive is conventionally assigned as the primary partition that houses the operating system (like Windows) and essential system files. It’s often referred to as the “system drive” or “boot drive.”
- D Drive (Data Drive/Secondary Drive): This is typically a secondary partition on the same physical hard drive, or it could be an entirely separate physical hard drive. It’s commonly used for storing personal files, games, large applications, and backups, thereby offloading data from the C drive.
- Entity: The D drive is usually a secondary partition or a separate physical hard drive used for data storage. It helps in segregating user files from system files, which can improve system performance and simplify data management.
The goal of moving files is to free up valuable space on your C drive, leading to a faster and more stable computer.
Method 1: Manually Moving Files and Folders with File Explorer
This is the most straightforward method for general files like documents, photos, and videos. It’s safe as long as you’re not moving program files or system-critical folders.
Step-by-Step Guide:
- Open File Explorer: Press the Windows key + E on your keyboard, or click the folder icon on your taskbar.
- Navigate to the C Drive: In the left-hand pane, click on “This PC” or “My Computer.” Then, double-click on your C drive (usually labeled “Local Disk (C:)”).
- Identify Files to Move: Browse through your folders to find the files or folders you want to move. Common locations for large user files include:
- C:\Users\[YourUsername]\Documents
- C:\Users\[YourUsername]\Pictures
- C:\Users\[YourUsername]\Videos
- C:\Users\[YourUsername]\Downloads
- C:\Users\[YourUsername]\Desktop
- Select the Files/Folders:
- To select a single file or folder, click on it.
- To select multiple files/folders, hold down the Ctrl key and click on each item.
- To select a range of files, click the first item, hold down the Shift key, and click the last item.
- To select all items in a folder, press Ctrl + A.
- Cut the Selected Items: Once selected, right-click on any of the highlighted items and choose “Cut” from the context menu. (Using “Cut” ensures the files are removed from the original location after pasting, preventing duplicates and freeing up space).
- Navigate to the D Drive: In the left-hand pane of File Explorer, click on your D drive (e.g., “New Volume (D:)”).
- Create a New Folder (Optional, but Recommended): To keep your D drive organized, it’s a good idea to create a new folder for the moved files. Right-click on an empty space within the D drive, select “New”, and then “Folder.” Give it a descriptive name (e.g., “My Documents,” “Photos from C”).
- Paste the Files: Open the newly created folder (or any existing folder on your D drive where you want to place the files). Right-click on an empty space and choose “Paste.”
- Verify the Move: After the files have been pasted, go back to the original location on your C drive to confirm that the files are no longer there. This confirms they have been successfully moved, not copied.
Safety Tip: Always avoid moving essential system files or program files using this method. Moving these can cause your operating system or applications to malfunction. Stick to personal documents, media, and downloads.
Method 2: Changing Default Save Locations for User Folders
Windows allows you to easily change the default location for common user folders like Documents, Pictures, Videos, Music, and Downloads. This ensures that any new files saved to these locations will automatically go to your D drive, preventing future C drive clutter.
Step-by-Step Guide:
- Open File Explorer: Press Windows key + E.
- Navigate to Your User Profile: In the left-hand pane, click on “This PC.” Then, navigate to C:\Users\[YourUsername]. You will see folders like “Documents,” “Downloads,” “Music,” “Pictures,” and “Videos.”
- Right-Click a User Folder: Right-click on the user folder you want to move (e.g., “Documents”).
- Select “Properties”: From the context menu, select “Properties.”
- Go to the “Location” Tab: In the Properties window, click on the “Location” tab.
- Click “Move…”: You will see the current path (e.g., C:\Users\[YourUsername]\Documents). Click the “Move…” button.
- Select a New Location on D Drive: A new window will open. Navigate to your D drive. You can choose to place the folder directly on D or create a new folder (e.g., D:\Documents) specifically for it. Select the desired location and click “Select Folder.”
- Confirm the Move: Back in the “Location” tab, the path will now show the new D drive location. Click “Apply.”
- Confirm File Transfer: Windows will ask if you want to move all files from the old location to the new location. Click “Yes.” This will safely transfer your existing files.
- Repeat for Other Folders: Repeat these steps for other user folders (Pictures, Videos, Music, Downloads, Desktop) as needed.
Benefit: This method is highly recommended as it automates future file saving, keeping your C drive tidy without manual intervention.
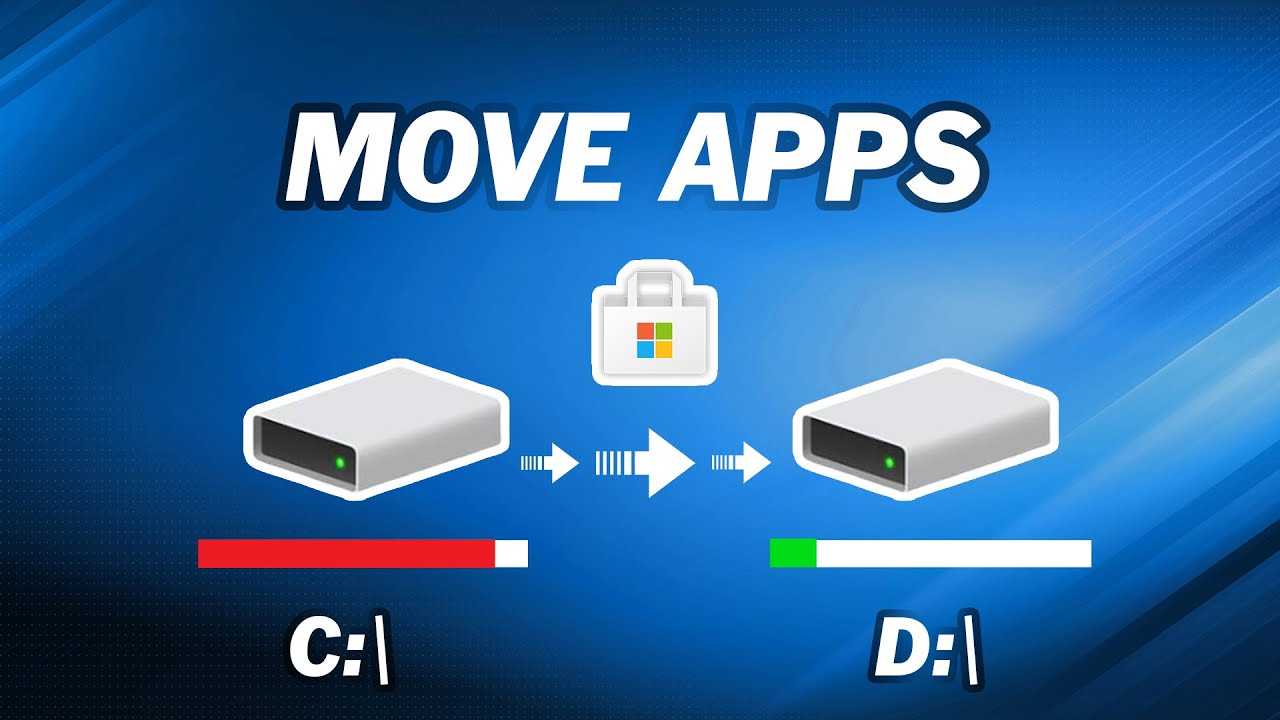
Method 3: Moving Installed Programs and Apps (Advanced)
Moving installed programs and apps is trickier than moving personal files. Simply cutting and pasting program folders will likely break them, as they often have registry entries and dependencies tied to their original installation path. However, there are safer methods for certain types of applications.
Option A: Using Windows Settings (for Microsoft Store Apps)
For applications installed from the Microsoft Store, Windows provides a built-in option to move them.
- Open Settings: Press Windows key + I to open Settings.
- Go to “Apps” > “Apps & features”: In the Settings window, click on “Apps,” then select “Apps & features” from the left-hand menu.
- Select the App: Find the Microsoft Store app you want to move in the list.
- Click “Move”: Click on the app name, and then click the “Move” button.
- Choose D Drive: Select your D drive from the dropdown menu and click “Move.”
Considerations: This only works for apps from the Microsoft Store. Regular desktop programs (like Adobe Photoshop, Microsoft Office, etc.) cannot be moved this way.
Option B: Reinstalling Programs (Recommended for Desktop Apps)
For traditional desktop programs, the safest and most reliable method is to uninstall them from the C drive and then reinstall them onto the D drive.
- Uninstall the Program:
- Open Settings (Windows key + I).
- Go to “Apps” > “Apps & features.”
- Find the program you want to move, click on it, and select “Uninstall.” Follow any on-screen prompts.
- Reinstall on D Drive:
- Locate the installation file (setup.exe) for the program.
- Run the installer.
- During the installation process, when prompted to choose an installation directory, select a location on your D drive (e.g., D:\Program Files or D:\Games).
- Complete the installation.
Why Reinstall? Programs create various files and registry entries during installation that are tied to their specific location. Simply moving them breaks these links, causing the program to fail. Reinstallation correctly sets up all necessary components in the new location.
Option C: Using a Third-Party Program Mover (Use with Caution)
There are third-party tools designed to move installed programs, but they are not always foolproof and can sometimes cause issues. Examples include utilities within software like Steam (for Steam games only) or some dedicated “app mover” tools.
- Steam Games: If you have Steam games, you can change their installation location within the Steam client. Go to Steam > Settings > Downloads > Steam Library Folders. You can add a new library folder on your D drive and then move existing games to it.
- Other Tools: Some software offers “program moving” features. If you decide to use such a tool, proceed with extreme caution and create a system restore point first. These tools attempt to update registry entries and shortcuts, but they don’t always succeed perfectly.
General Rule: If a program doesn’t have a built-in “move” option, reinstalling is the safest bet.
The Importance of Disk Management
Moving files and applications between drives is a core aspect of disk management. Efficient disk management ensures your computer runs smoothly, prevents frustrating slowdowns, and helps prolong the life of your storage devices. An overcrowded C drive not only impacts performance but can also prevent critical Windows updates from installing, leading to security vulnerabilities. By regularly managing your disk space and strategically placing files on the appropriate drives, you contribute to the overall health and longevity of your system. This practice is particularly important with Solid State Drives (SSDs) commonly used for the C drive, as they can perform optimally when they have a certain percentage of free space.
Frequently Asked Questions (FAQ)
Q1: Is it safe to move program files from C drive to D drive by just cutting and pasting?
No, it is generally not safe to cut and paste program files. Programs create many associated files and registry entries linked to their installation path on the C drive. Simply moving them will break these links and prevent the programs from running correctly. Reinstallation is the safest method for traditional desktop programs.
Q2: Will moving my personal files (documents, pictures) affect my computer’s performance?
No, moving personal files like documents, pictures, videos, and downloads from your C drive to D drive will not negatively affect your computer’s performance. In fact, it will likely improve performance by freeing up space on your C drive, which is crucial for the operating system to function efficiently.
Q3: What should I do if my D drive is full too?
If both your C and D drives are full, consider these options: * Delete unnecessary files: Go through your drives and delete old, unused files, temporary files, and duplicate content. * Uninstall unused programs: Remove any programs you no longer need. * Use cloud storage: Move less frequently accessed files to cloud services like Google Drive, Dropbox, or OneDrive. * Add an external hard drive: For large backups or archives, an external hard drive is a great solution. * Upgrade your internal hard drive: If you consistently run out of space, it might be time to install a larger internal hard drive.
Q4: Can I move the Windows operating system itself to the D drive?
No, you cannot simply move the Windows operating system from the C drive to the D drive. The operating system is deeply integrated with the C drive as its boot partition. Moving it would render your system unbootable. If you need to change the OS location, it typically requires a clean installation or advanced cloning techniques for the entire drive.
Q5: How often should I check my C drive space?
It’s a good practice to check your C drive space periodically, perhaps once a month or every few weeks, especially if you download a lot of files or install new software regularly. Keeping at least 15-20% of free space on your C drive is generally recommended for optimal performance.