Learn how to connect a printer to Windows over Wi-Fi. Step-by-step guide covers printer setup, adding to Windows, driver installation, and troubleshooting common issues.
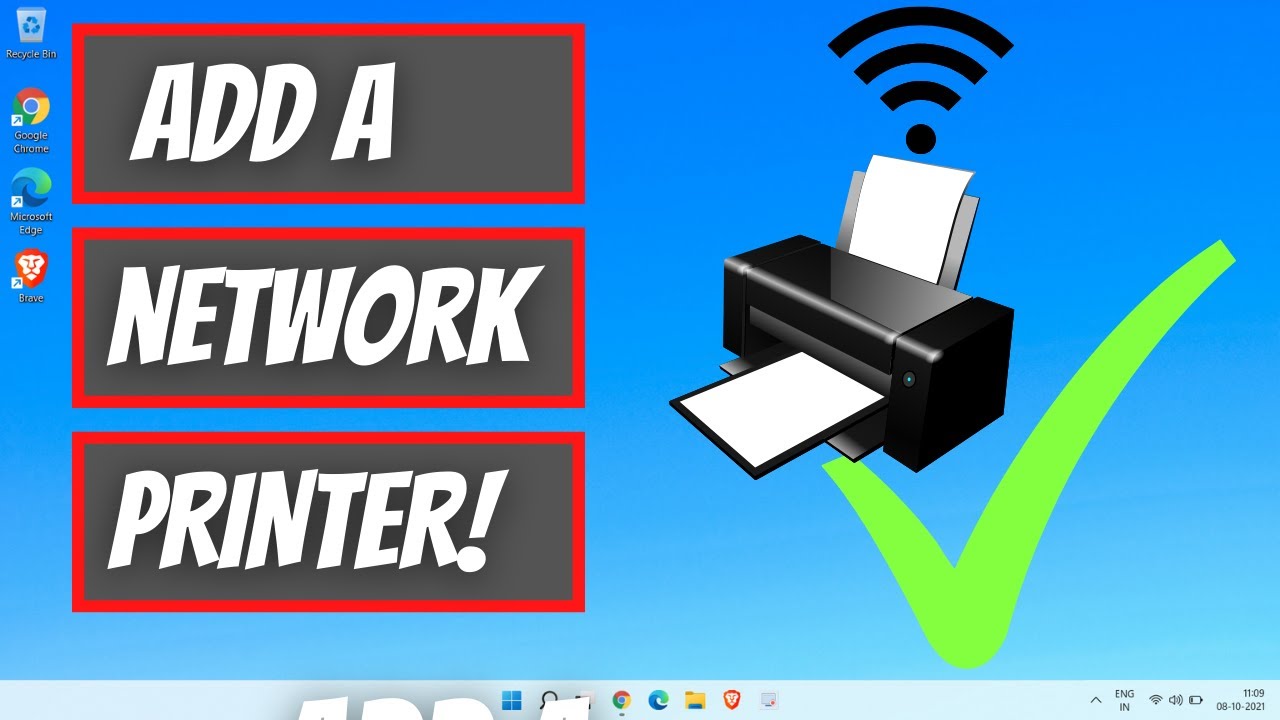
Learn how to add a network printer to your Windows PC. This step-by-step guide covers automatic discovery, manual setup with IP addresses, and troubleshooting common connection issues.
Implementing Artificial Intelligence in your small business in April 2025 is an achievable goal. By following these steps, starting with clear objectives, choosing the right tools, and focusing on the customer experience, you can leverage the power of AI to drive growth and efficiency for your business in India and beyond.
Running successful Facebook Ad campaigns in April 2025 requires a strategic and data-driven approach. By following these steps, you can effectively reach your target audience and achieve your advertising goals.
Boosting engagement on your social media posts in April 2025, especially when targeting an audience in India, requires a strategic and audience-centric approach. By understanding your audience, creating compelling and platform-optimized content, encouraging interaction, posting consistently, and analyzing your results, you can build a thriving and engaged social media presence.
Learn how to optimize your LinkedIn profile in April 2025 to stand out to hiring managers in India! Get tips on headlines, summaries, experience, skills, and more.
Optimizing your website for mobile traffic in April 2025 requires a comprehensive approach that addresses design, performance, content, and user experience. By following these steps and continuously monitoring your results, you can ensure your website is well-equipped to attract and engage the ever-growing mobile audience.
Running successful Google Ads campaigns on a budget in April 2025 requires a smart and strategic approach. By following these steps and consistently monitoring and optimizing your campaigns, you can effectively reach your target audience, drive valuable traffic to your website, and achieve your business goals without overspending
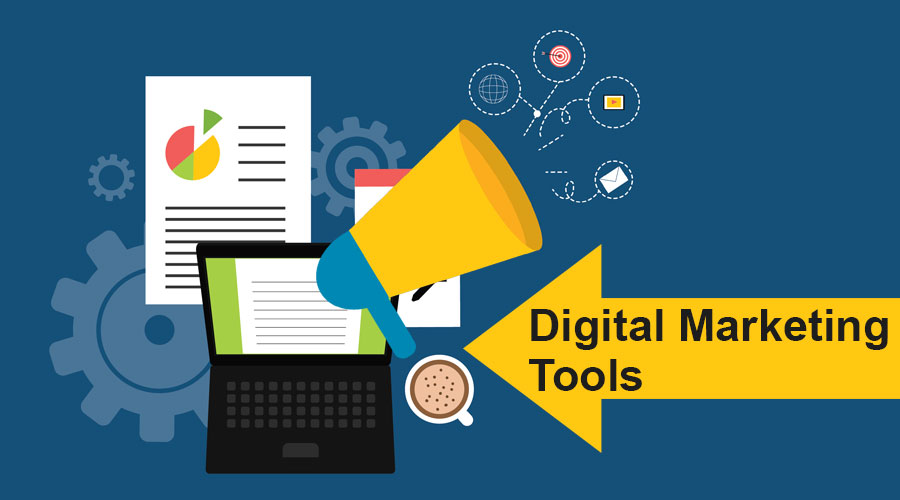
By strategically selecting and effectively implementing the right digital marketing tools in April 2025, your small business can successfully compete, connect with a wider audience, and achieve its growth objectives in the increasingly digital world.