The humble clipboard has been a staple of computing for decades, allowing you to copy (Ctrl+C) and paste (Ctrl+V) a single item. However, in Windows 10 and Windows 11, Microsoft introduced Clipboard History, a powerful feature that transforms this basic functionality into a robust productivity tool. No longer are you limited to the last copied item; you can now access a list of previously copied texts, images, and even HTML content.
Leveraging Clipboard History effectively can significantly streamline your workflow, reduce repetitive copying, and ensure you never lose that crucial snippet of information again. This guide will walk you through enabling, accessing, and mastering this essential Windows feature to use it like a pro.
Understanding Clipboard History
Traditionally, the Windows clipboard (also known as a pasteboard) is a temporary storage area where data that has been cut or copied from one location is held, ready to be pasted elsewhere. The limitation was that each new copy operation would overwrite the previous content.
Clipboard History changes this by storing up to 25 of your most recently copied items. This includes text, images (up to 4 MB in size), and HTML code. The history persists even if you restart your computer, provided the feature is enabled. This means you can copy multiple items in sequence and then selectively paste them as needed, rather than constantly switching back and forth between applications to copy one item at a time.
Step 1: Enable Clipboard History
Clipboard History is a core Windows feature, but it’s not always enabled by default. Activating it is the first step to unlocking its power.
- Open Windows Settings:
- Click the Start button (Windows icon) on your taskbar.
- Click the gear icon (Settings) to open the Settings app.
- Alternatively, you can press Windows key + I to open Settings directly.
- Navigate to Clipboard Settings:
- In the Settings window, click on System (on Windows 10) or Clipboard (on Windows 11, directly listed in the left pane under System).
- If you’re on Windows 10, after clicking System, look for and click Clipboard in the left-hand menu.
- Turn On Clipboard History:
- Locate the toggle switch labeled “Clipboard history.”
- Ensure this toggle is switched to the “On” position.
- Entity: Clipboard History is a built-in feature in Windows 10 (version 1809 and later) and Windows 11 that stores multiple copied items (text, images, HTML) in a chronological list. This allows users to access and paste any of the recently copied items, rather than being limited to only the last one.
Step 2: Access Your Clipboard History
Once enabled, accessing your stored copied items is incredibly simple and becomes second nature with practice.
- Copy Multiple Items:
- Start copying text, images, or other content from various applications as you normally would (using Ctrl+C or right-click > Copy).
- Copy at least 2-3 different items to see the history in action.
- Open the Clipboard History Panel:
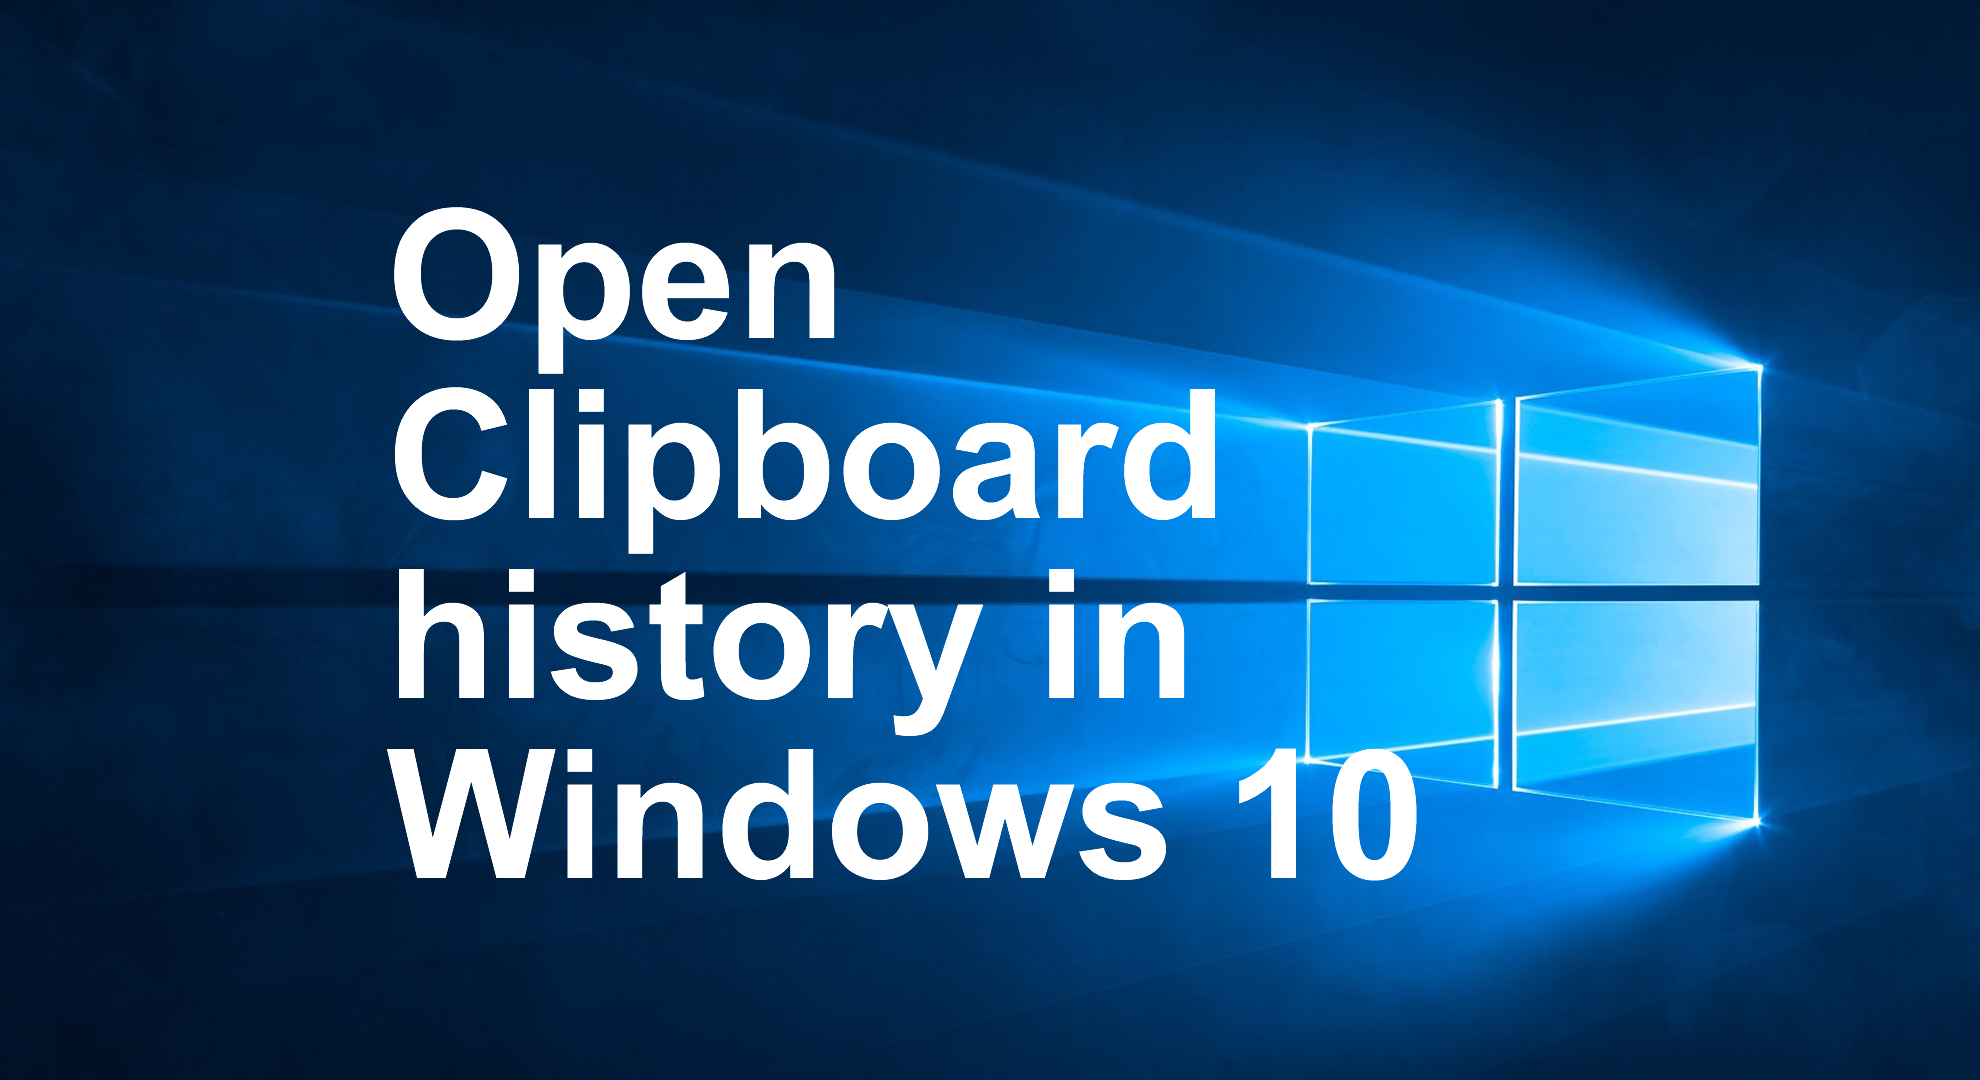
- To paste an item from your history, instead of using Ctrl+V, press Windows key + V.
- A small pop-up panel will appear on your screen, displaying a list of your most recently copied items, with the newest at the top.
- Select and Paste an Item:
- Scroll through the list using your mouse wheel or arrow keys.
- Click on the item you wish to paste. It will be immediately pasted into the active application at your cursor’s position.
Step 3: Master Advanced Clipboard History Features
Beyond basic access, Clipboard History offers several features that elevate its utility for power users.
Feature 1: Pinning Frequently Used Items
Some items you copy are used repeatedly – common phrases, email addresses, code snippets, etc. Pinning these items keeps them readily accessible at the top of your history.
- Open Clipboard History (Windows key + V).
- Locate the item you want to pin.
- Hover over the item. You’ll see a pin icon (often a thumbtack) appear.
- Click the pin icon. The item will move to the top of your history and will remain there even after restarts or when new items are copied, until you unpin it.
- To unpin an item, simply click the pin icon again.
Feature 2: Deleting Items from History
You might copy sensitive information (passwords, banking details) that you don’t want lingering in your history. You can delete individual items or clear the entire history.
- Open Clipboard History (Windows key + V).
- Delete Individual Items:
- Hover over the item you want to delete.
- Click the three horizontal dots (…) or the “X” icon (depending on your Windows version).
- Select “Delete” or simply click the “X” to remove it.
- Clear All History:
- Open Clipboard History (Windows key + V).
- Click the “Clear all” button (often represented by a trash can icon) at the top right of the panel.
- Alternatively, you can go to Settings > System > Clipboard and click the “Clear clipboard data” button. This will remove all items except pinned ones.
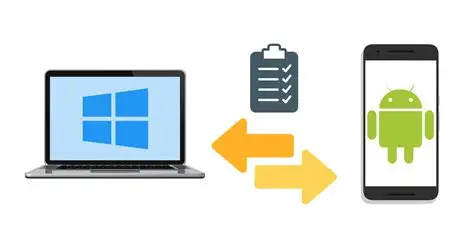
Feature 3: Syncing Clipboard Across Devices (Cloud Clipboard)
For users with multiple Windows 10/11 devices signed in with the same Microsoft account, Clipboard History can sync across them. This means you can copy on your desktop and paste on your laptop.
- Enable Clipboard Sync:
- Go to Settings > System > Clipboard.
- Locate “Sync across your devices.”
- Ensure this toggle is switched to “On.”
- You can choose “Automatically sync text that I copy” or “Manually sync text that I copy” (where you’d click a sync icon in the clipboard history panel for specific items). Automatic is generally more convenient.
- Entity: Cloud Clipboard (or “Sync across your devices”) is an extension of Windows Clipboard History that allows copied content to be synchronized across multiple Windows 10 or Windows 11 devices that are signed in with the same Microsoft account. This enables users to copy text or images on one device and paste them on another.
- Ensure Same Microsoft Account:
- For syncing to work, all your Windows devices must be signed in with the same Microsoft account.
- Go to Settings > Accounts > Your info to verify your signed-in account on each device.
- Firewall and Network:
- Ensure your firewall isn’t blocking clipboard sync and that both devices are connected to the internet.
Tips for Using Clipboard History Like a Pro
- Keyboard Shortcut Mastery: The Windows key + V shortcut is your gateway. Practice it until it’s muscle memory.
- Sequential Copying, Selective Pasting: This is the core benefit. Copy all the pieces of information you need first, then go to your destination document and paste them in the desired order using Windows key + V.
- Pin Essential Snippets: Use pinning for frequently used email templates, code snippets, or contact information. This saves you from re-typing or re-copying.
- Clear Sensitive Data Promptly: Make it a habit to open Windows key + V and delete sensitive information (like passwords or credit card numbers) immediately after use, especially if you’re concerned about security or sharing your screen.
- Combine with Other Shortcuts: Use Ctrl+C (copy), Ctrl+X (cut), and then Windows key + V for pasting.
- Restart Doesn’t Erase (Mostly): Unlike the old clipboard, history persists across restarts. However, the limit of ~25 items means very old items will eventually be pushed out. Pinned items are exempt.
- Large Images/Files: Remember the 4 MB limit for images in history. Larger images or actual files (when copied) are not stored in the history panel itself, only their file paths might be copied as text.
By integrating Clipboard History into your daily computer habits, you’ll find yourself saving time, reducing errors, and enjoying a smoother, more efficient workflow on your Windows PC. It’s a small change with a big impact on productivity.
FAQ Section
Q1: What kind of content can be stored in Windows Clipboard History?
Windows Clipboard History can store text, images (up to 4 MB in size), and HTML content. It typically does not store larger files or complex objects directly; for those, it usually copies a file path or a link.
Q2: How many items does Clipboard History store?
Clipboard History stores up to 25 of your most recently copied items. Once the limit is reached, the oldest non-pinned item will be removed to make space for new ones. Pinned items remain in the history indefinitely until you unpin them.
Q3: Does Clipboard History clear when I shut down my computer?
No, by default, Clipboard History persists across restarts. This is one of its major advantages over the traditional clipboard. Only the oldest items (beyond the 25-item limit) or items you manually delete are removed.
Q4: My Clipboard History isn’t syncing between my Windows devices. What could be wrong?
Several factors can prevent Cloud Clipboard syncing:
- Sync not enabled: Ensure “Sync across your devices” is turned on in Settings > System > Clipboard on all devices.
- Different Microsoft accounts: All devices must be signed in with the same Microsoft account.
- Internet connection: Both devices need an active internet connection to sync.
- Firewall/Network issues: A strict firewall or network settings might be blocking the sync service.
- Older Windows versions: Syncing requires Windows 10 (version 1809 or later) or Windows 11.
Q5: Can I paste an item from my Clipboard History using just Ctrl+V?
No, the standard Ctrl+V shortcut will always paste only the single, most recently copied item (the one at the very top of your history). To access and paste from the full Clipboard History list, you must use the Windows key + V shortcut.